Add Exhibitors & Enable Meeting Scheduler
Add exhibitor admins
Add an Exhibitor:
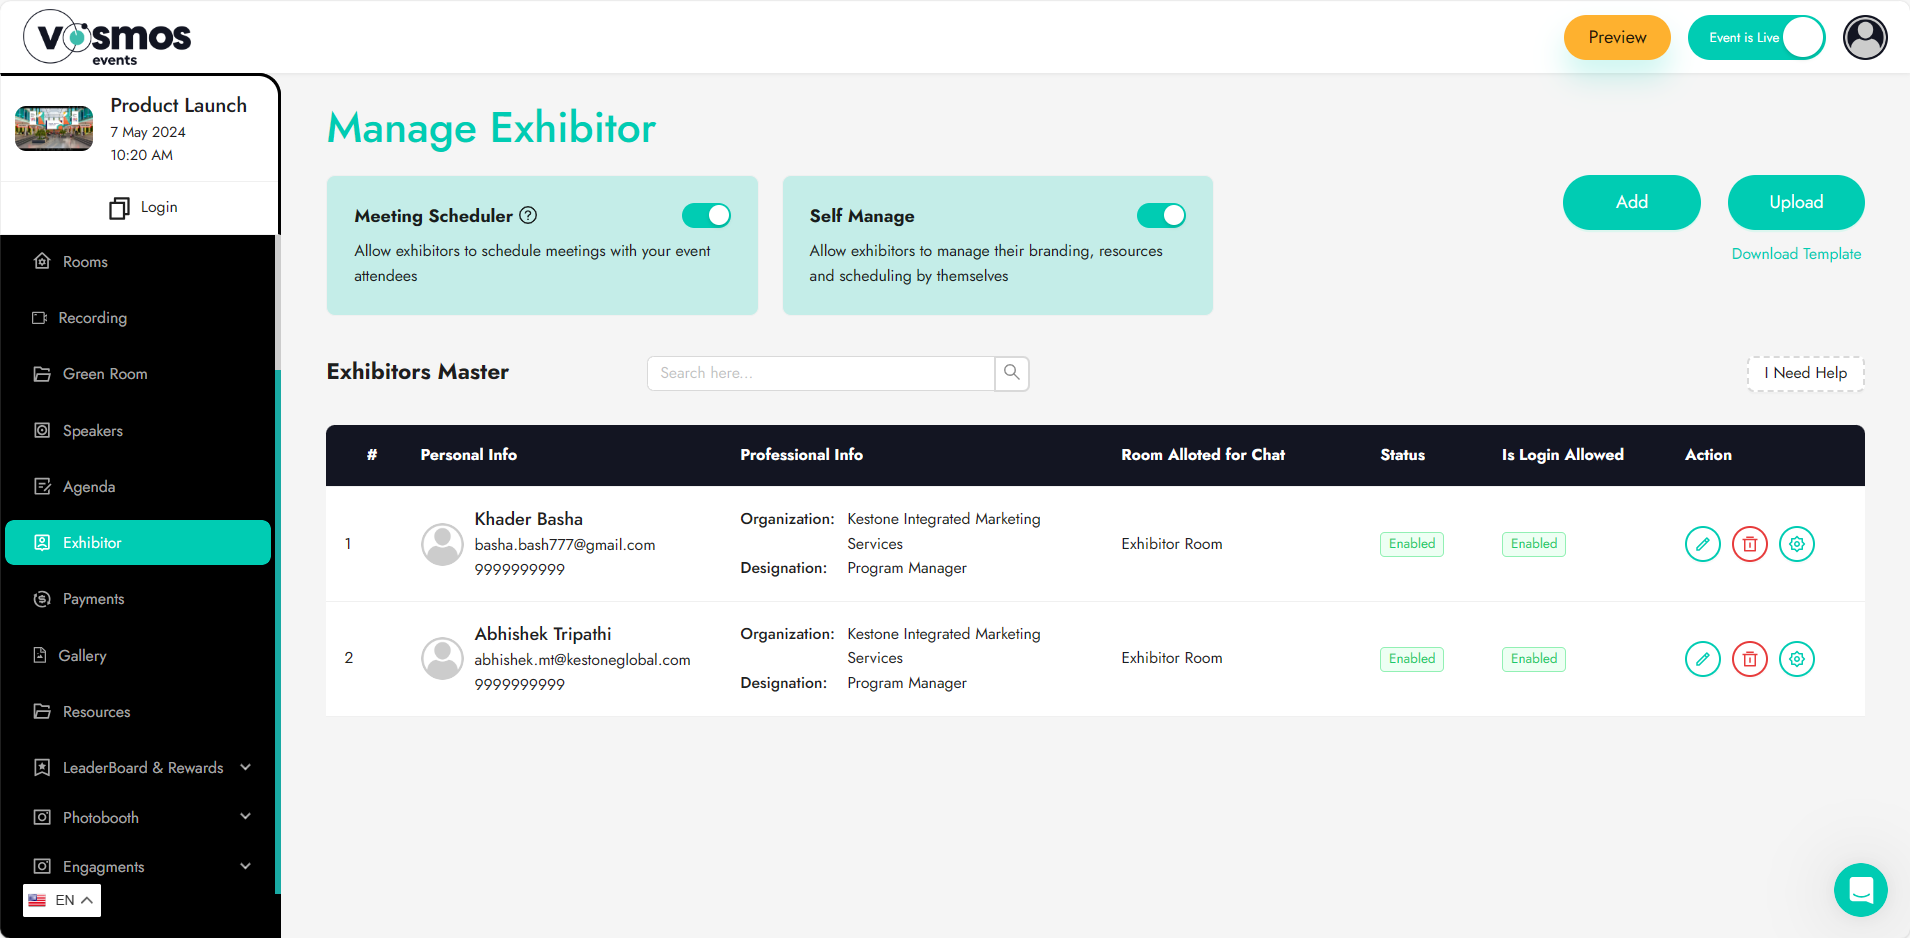
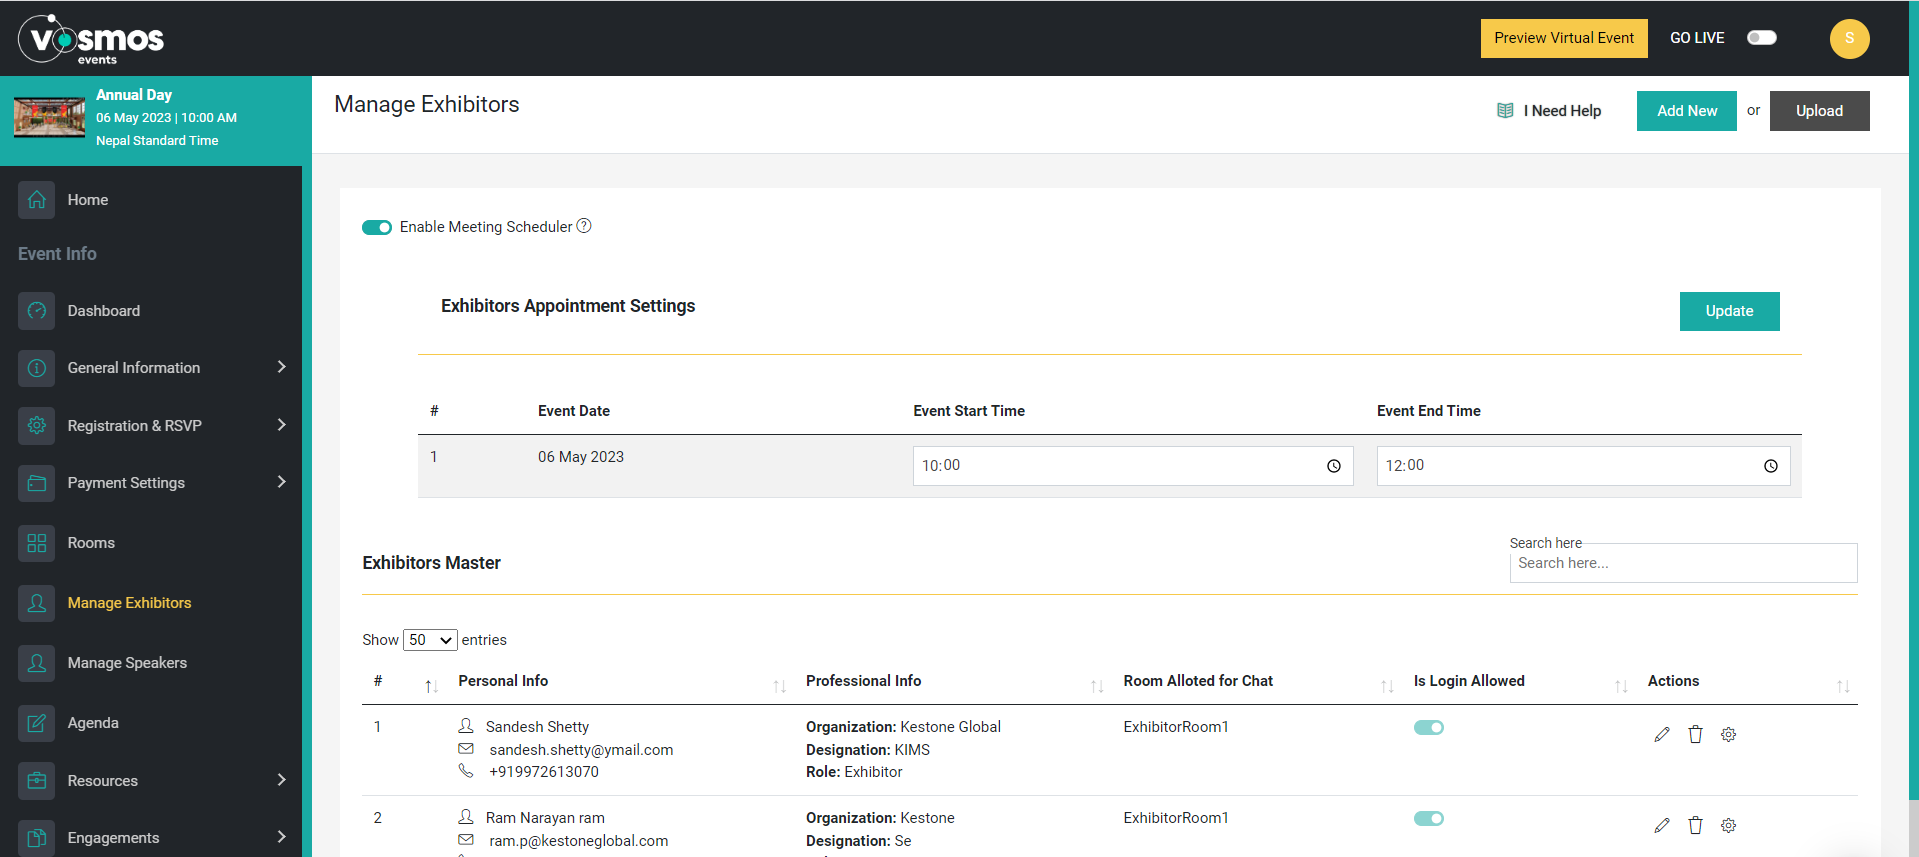
Click on ‘Add New’ to add a new exhibitor to the list. Fields that will be needed to add an exhibitor are;
- First Name
- Last Name
- Email ID
- Mobile number
- Organization
- Designation
- Room allotted (which exhibitor room will this person be admin for)
- Avatar (Display picture for the user)
- Password (if applicable)
- Is Login allowed (allowing this will allow the user to login, else the user will not have access to the platform)
- Is Preview allowed (allowing this will allow the user to login on the preview window as well)
Upload exhibitors: You can also upload the exhibitors using a .csv or.xls file using the ‘Upload button’ located on the top right of the screen under ‘Manage Exhibitors’.
There are two ways to manage the exhibitor booths.
- Manage it yourself
- Let the exhibitor manage it (Self-Serve)
If you wish to manage it yourself, do not activate 'Self Serve' email.
Enable Self-Serve: If enabled for the booths, the exhibitor will also be assigned as the super admin with which he/she will be able to manage the backend of the booth where the banners, admins, resources of the booth can be managed as well.
Once this has been enabled and an exhibitor has been added, you will see a send icon against each exhibitor to trigger a ‘self-serve’ email.
The exhibitor will receive an email with the login URL and details on how to manage the backend of the booth.

Enable Meeting Scheduler: Meeting scheduler allows the attendee to schedule a meeting with exhibitors. Once this has been enabled, the attendee will see an option to chat/schedule a meeting with the exhibitor when is visit the booths.
Once you enable this, there is another option that appears i.e., ‘Exhibitors Appointment Settings’ where you need to set ‘start time’ & ‘end time’ within which the attendees will be able to block the exhibitors time.
By default, the meeting slots are for 1 hours. You can change by clicking on the setting icon against each exhibitor.

